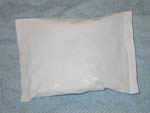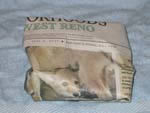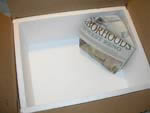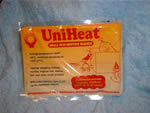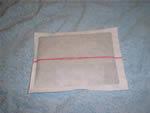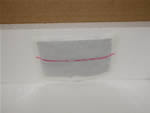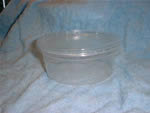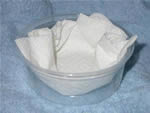


You will need the following materials for shipping your gecko safely:
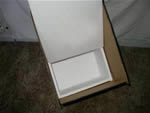
- Insulated box
- Tape
- Heat or cold pack
- Newspaper or Styrofoam peanuts
- Deli cup
- Paper towel
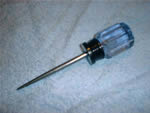
- Some type of punch
Step #1
First you will need an insulated box. There are several different sizes available. I use (7” x 7” x 6”), (12" x 9" x 6") and (15" x 11" x 7"). The first two have Styrofoam lining that is 1/2 inch thick while the last one is 3/4 inch thick. Thicker boxes have better insulation. Choosing a size box depends greatly on how many animals are being shipped.Step #2
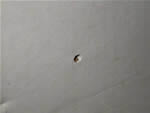
Assemble the box taping all cracks and add the Styrofoam lining as well. Punch a single hole on the smallest length side and put them on each side of the box. The holes are punched through the cardboard box and the Styrofoam and allow for a little air flow. I use a scratch awl to punch the holes. You can use anything such as a screw driver to do this as long as the holes are smaller than the thickness of a pencil. Holes really aren’t required but I like to add them.
Step #3
You should only ship when the daytime temperatures in your area, the shipping company hubs and the destination is no less than 40 degrees and no more than 95 degrees. Shipping out of this range should never be attempted as it puts the animals life at risk. At what temperature would you use heat packs or cold packs? Generally when the temperatures are between 60 to 80 degrees there is no need for a heat or cold pack. Below 60 degrees a heat pack should be used and above 80 degrees a cold pack should be used.For Summer- Cold Packs
You may need to use a cold pack for the summer and here’s how to prepare and place it in the box. I mainly use the 8 ounce bag that measures 5" x 7". There is also a 1 pound bag available that measures 5" x 10". Take the cold pack and wrap it about 2 times in newspaper. You can tape it so the paper won’t move but if the paper is large enough tape is not needed. Place the pack in the corner of the box or on the shortest length side. Make sure that when the geckos are placed in the box they are not right on the cold pack. Cold packs generally last 4 to 8 hours depending on temperatures.Process in order from left to right:
For Winter - Heat Packs
In the winter months you’ll need heat packs when the temperatures are below 60 degrees. I use 40 hour heat packs. Heat packs should be preheated before they are placed in the box. Open the pack, shake it real good to activate its contents and make sure the red line is exposed to air as this is where the perforated holes are. If the side with the red line is laid on a surface the pack won’t heat as it’s not getting air. They usually take 30 to 45 minutes to completely activate. Its peak surface temperature is approximately 110 degrees which it reaches between 17 to 19 hours. Tape the pack to the shortest length side with the red line facing toward the inside of the box. This is important because if the red line is placed against the Styrofoam it won’t work properly. How many heat packs do you add to the box? This depends on your daytime temperatures, the shipping company hubs and the destination. Each heat pack is capable of raising the temperature in the box 12 to 16 degrees. One heat pack per box is usually fine. If the daytime highs are around 40 degrees two heat packs can be used on the shortest length sides because the night time temperatures will be lower.Process in order from left to right:
Step #4
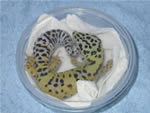
With the heat or cold packs now ready and in place we need to get the gecko ready by putting them in deli cups. These are plastic containers that will be placed in the box. Deli cups are sold in several styles with many different sizes to suit your needs. They also come not punched or pre-punched. The pre-punched are excellent because the air holes are already made for you. For my baby and juvenile leopard geckos I use an 8oz or 12 ounce cup that has a diameter of 4 1/2 inches. Large full grown adults may also be put in a cup that has a diameter of 6 3/4 inches. Choosing the right size is critical because the box is guaranteed to be tossed around. If the deli cup is too large the gecko will be slapped around inside the cup as the box is tossed or dropped. If they are a little more snug you can make it less stressful for them. Never place more than one animal per deli cup.Once you have the correct size deli cup fold a paper towel and place it in the cup. This is used to give them a little cushion and to absorb any of their waste.
Now place the gecko in the deli cup and fascine the lid. Make sure it is completely on as you don’t want them to open it.
Step #5
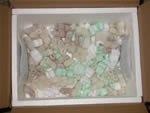
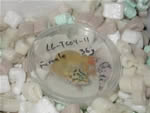
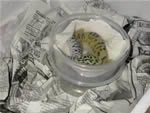
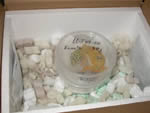
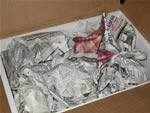
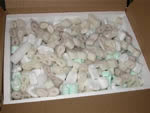
Now with the gecko ready we can start packing the box. There are two different ways of doing this. One is using newspaper and the other Styrofoam peanuts. I've been using peanuts for a while now and prefer them over newspaper. They really add more insulation to the package and diffuse heat and cold rather than absorbing it like newspaper seems to do. I will show both methods below with newspaper being on the left and peanuts on the right.Place a small layer of either newspaper or Styrofoam peanuts as a base. This works great for just a few geckos as it supports them and adds more insulation between the gecko and the outside of the box. If you are sending more than 4 geckos or have larger deli cups you don’t have to do this and can just place them on the Styrofoam box lining.
Crunch the newspaper up placing it tightly on the bottom of the box.
Place enough Styrofoam peanuts on the bottom of the box so it's covered. Any type of peanut will work and it’s ok if you have different types mixed together.
Step #6
If you are shipping one gecko then place the cup in the middle of the box. Do this for both newspaper and peanuts.
Step #7
If you are shipping multiple geckos they can be stacked on one another or placed side by side. Remember if you are using a heat or cold pack don’t put the deli cup right by them. Do this for both newspaper and peanuts.
Step #8
With the deli cup in the box put newspaper around and on top of the deli cup so it has a snug fit. This keeps the deli cup secure from moving.
With the deli cup in the box fill the remaining space with peanuts. Make sure every space is packed with peanuts.
Step #9
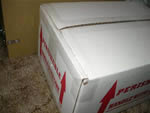
Place the Styrofoam lid on and seal up the box. When taping the box I tape every crack. Tape the center of the flaps as well as on the side splits making an 'H' appearance. This helps better insulate the box.You are now finished packing and your geckos are ready to be shipped. There are several serves you can use including UPS, FedEx and Delta Dash. I ship and prefer to use UPS Next Day Air that guaranteed to arrive before 10:30am.
There is a new shipping service call Ship Your Reptiles. This service allows you to ship your animals overnight with huge discounts from retail prices.
Note
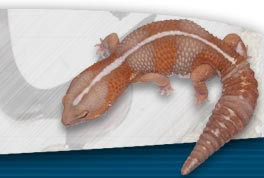
This was written with Leopard geckos as an example but this method works with any type of small reptile such as other lizards, geckos, turtles, tortoises and even some snakes.

